Step 3: Build, Run, and Debug
- Double-click on build.xml file in your Protégé project folder. Please notice this is the main build.xml and it is OUTSIDE the plugins folder. The ones inside are used by this ant script and should not be run separately
- In the outline view right-click on the run task and select Run as Ant Build

- The result of the above operation should be that Protégé is launched successfully from within Eclipse
- Terminate it either closing the Protégé window or clicking on the stop button in the Console View within Eclipse GUI
- Right-click on your Eclipse project folder containing Protégé and click on Refresh (this might not be necessary if you have set your Eclipse to auto-refresh)
- Click on the Run Menu and select Open Run Dialog
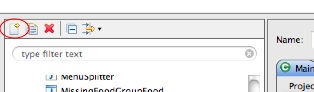
- Click on the New Launch configuration button
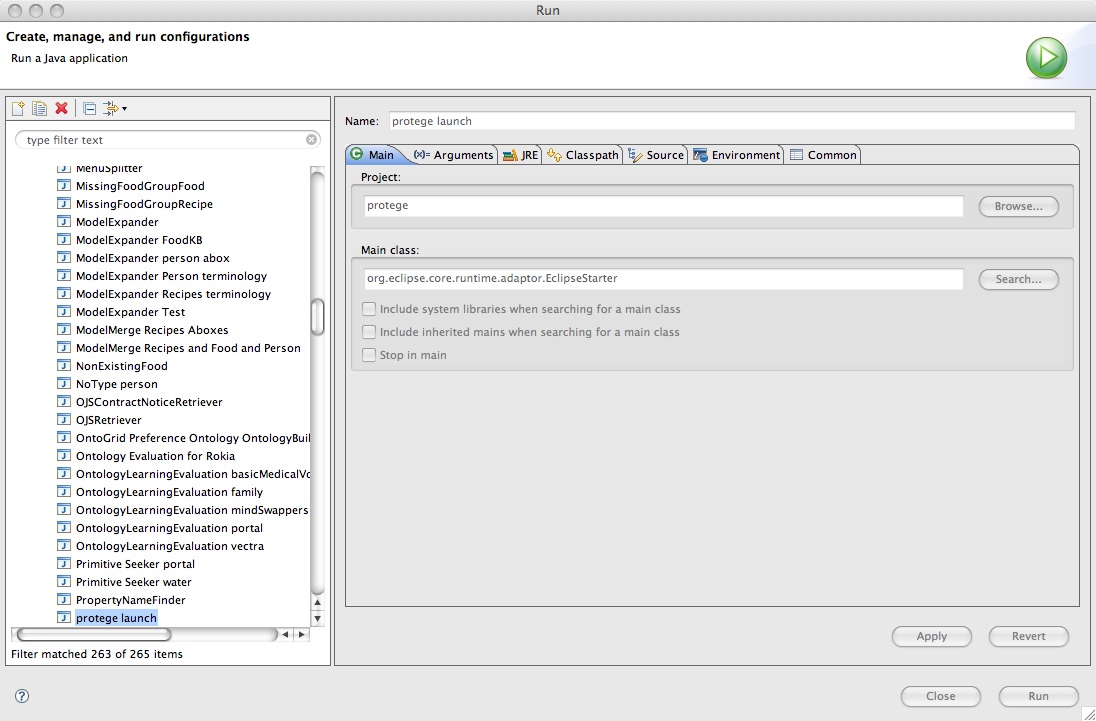
- Select a name for this launch configuration (i.e.: protege launch)
- Input your protege project name in the Project field (or select it using the Browse button beside it)
- Input the following class name in the Main Class field (or select it using the Browse button beside it): org.eclipse.core.runtime.adaptor.EclipseStarter
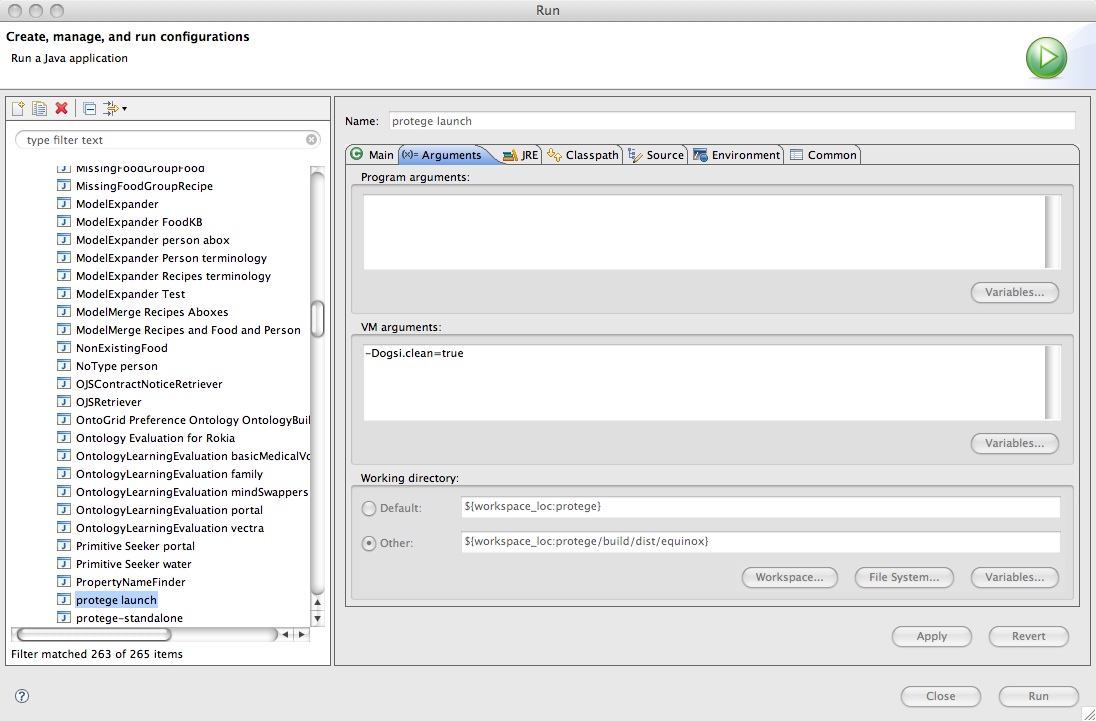
- Select the Arguments Tab
- Input the string -Dogsi.clean=true in the VM Arguments text area
- Select Other in the Working Directory section and input ${workspace_loc:<your-protege-folder-name>/build/dist/equinox} in the relative text field, where <your-protege-folder-name> is the name of your Protégé project
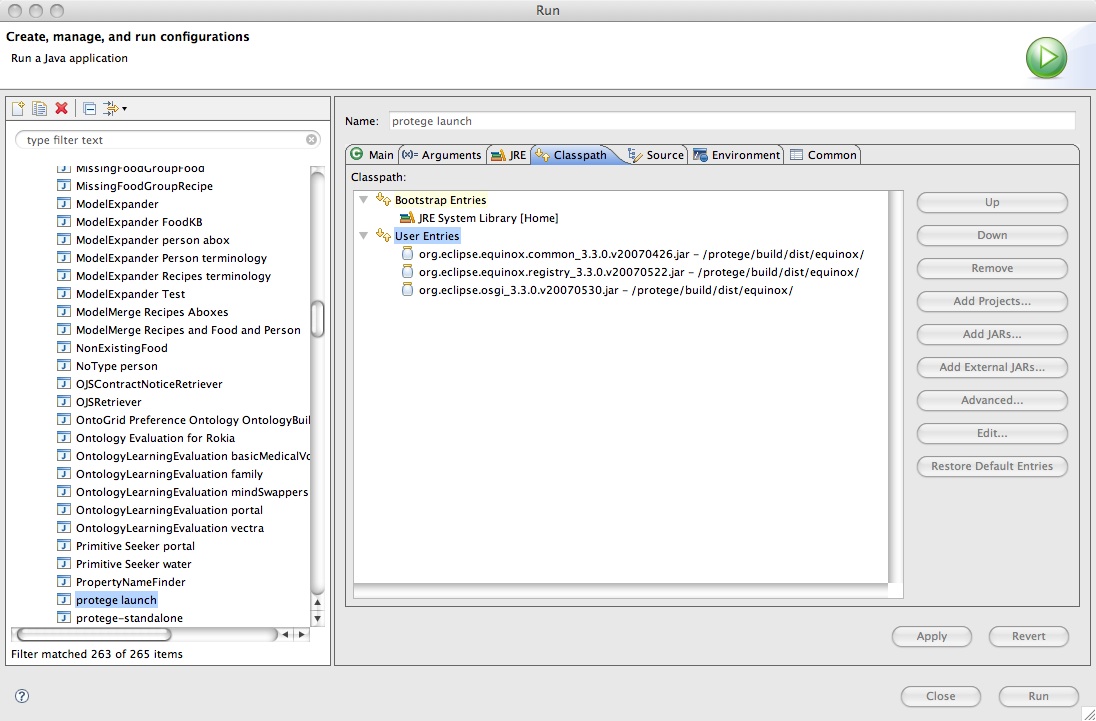
- Click on the Classpath Tab
- Remove all the entries under User Entries using the Remove button
- Select User Entries
- Click on the Add JARs button
- Find the folder build/dist/equinox in your protege project folder and select the following three jar files: org.eclipse.equinox.common_3.3.0.v20070426.jar, org.eclipse.equinox.registry_3.3.0.v20070522.jar, org.eclipse.osgi_3.3.0.v20070530.jar
- Click on OK. The classpath tab should now look like as follows
- Select the Source Tab
- Select Add
- Select Java Project
- Select your Protégé project name (please notice that projects in this dialog are not sorted alphabetically, therefore it is likely that your project appears at the bottom of the list)
- Click on the OK button
- Click on the Apply button
- Click on the Run button
- If everything is OK Protégé will start
 Now you are able to launch Protégé from Eclipse. Please notice the following things:
- In Eclipse Run configurations are also Debug configurations, hence if you want to debug code put your breakpoints anywhere in Protégé source code and the Debugger will stop when it encounters one
- If you edit Protégé source code you need to rebuild it, in order to debug/run the modified code, using the ant task as described at the top of this page